Filmsupply Edit Fest
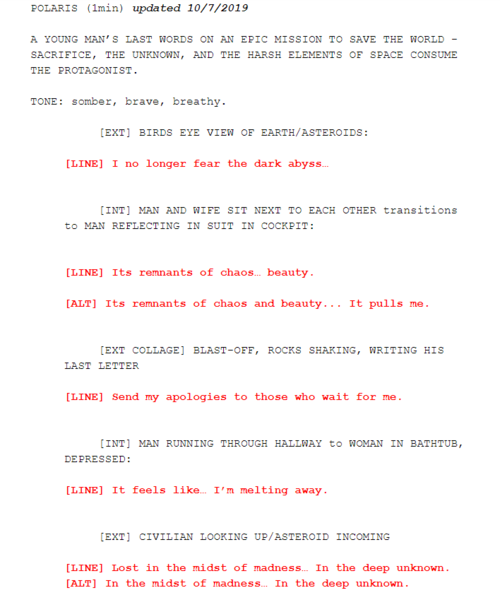
POLARIS
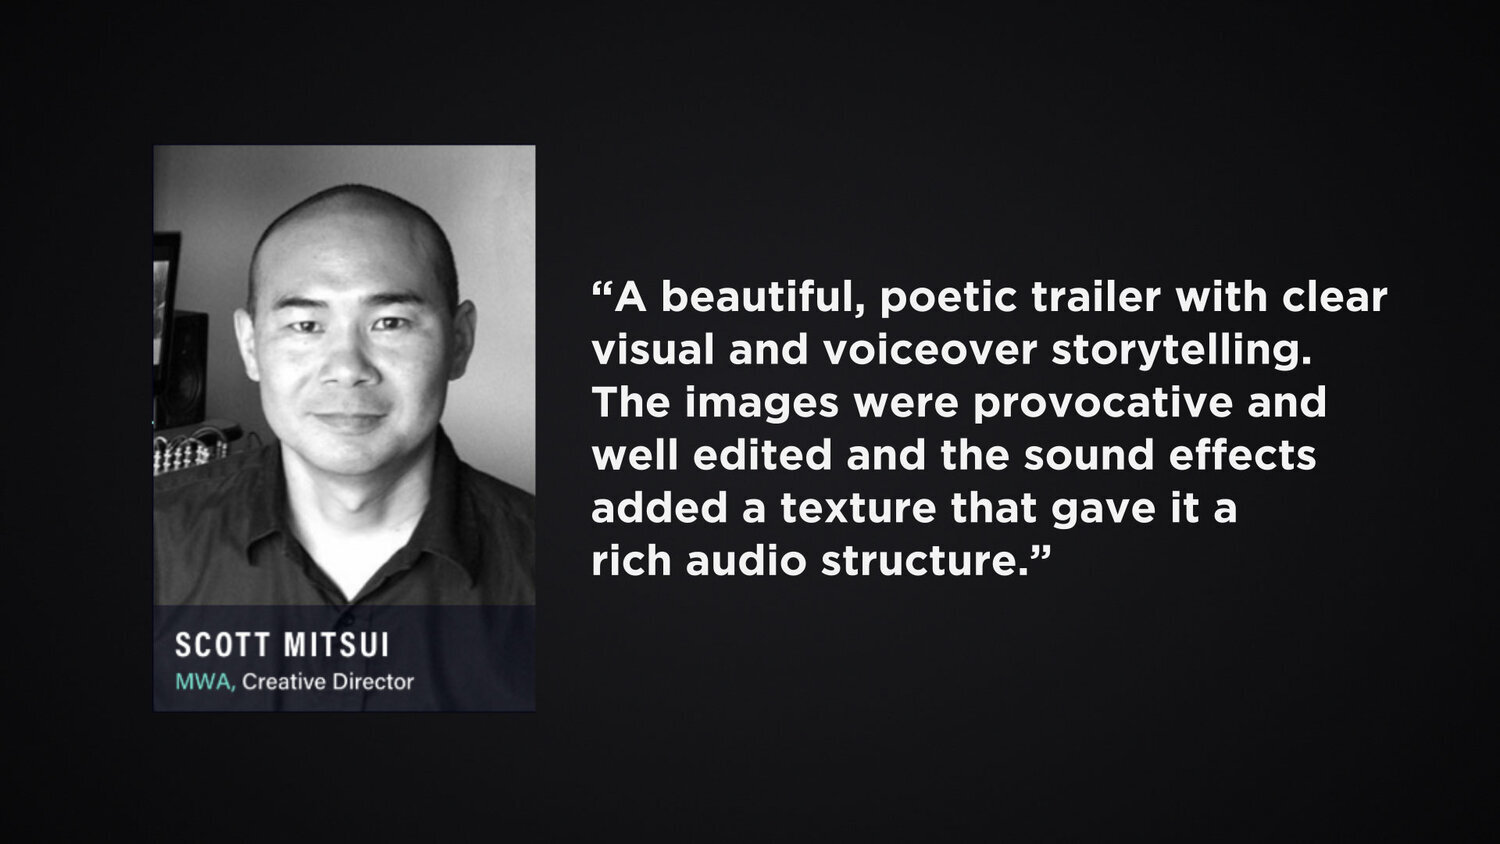
Awarded best movie trailer for Filmsupply’s 2019 Editfest.
skills provided: concept, storyboard, scene creation, lighting, textures, animation, stock acquisition, music selection, particle sim, compositing, VFX, editing, motion graphics, color grade, VO, sound design, mix/master


CG/VFX

Using CGtrader we purchased a model online and began altering it to look more like the astronaut in the footage. The visor was changed to gold in order to hide the characters face. We were lucky enough to use free mocap data supplied by Mixamo.
Mixamo is a free resource to anyone with an Adobe Creative Cloud subscription. If you haven’t used this resource before, we highly recommend it. You can import nearly any model and Mixamo will do all the calculation and create an accurate rig for your model.
From there, you can select from hundreds of different motion-capture samples and tweak them to your liking.
With only a month to produce this piece, animating by hand wasn’t our go-to. Once we had the astronaut model ready to go, the possibilities then became endless.
Taking our hero outside of the space station really opened the door as far as story telling. Now, we could really take our hero anywhere.
The spaceship itself is very simplistic in design. With it being such a quick scene, there wasn’t really any reason to complicate the geometry. We used Jsplacement in order to generate the futuristic look.
For this scene in particular we referenced a lot of the scenes from Alfonso Cuarón’s Gravity. There are a lot of great scenes near the beginning where everything is breaking apart as Sandra Bullock’s character is hurling through space

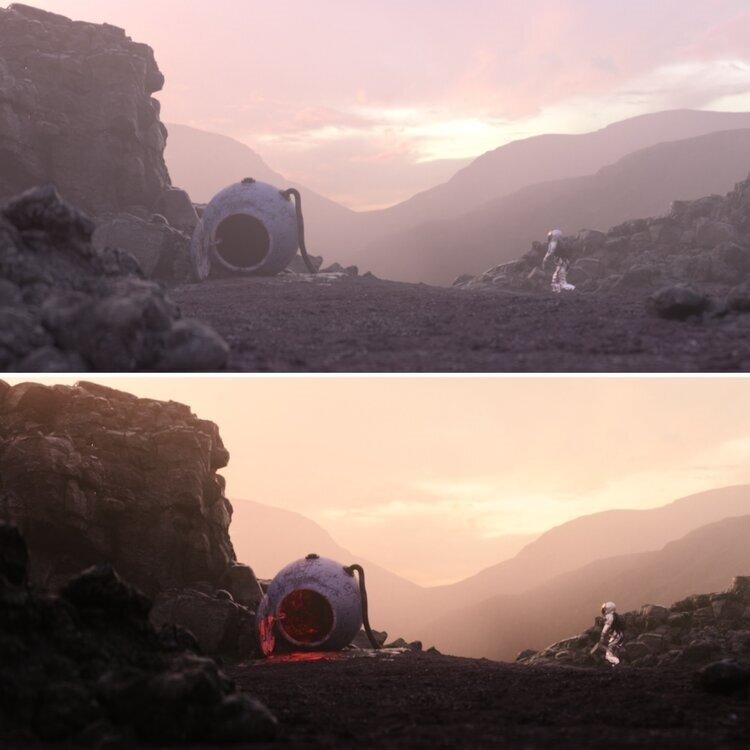
For the planet walking scene we actually used some of the maps from our Mountains Displacement Kit. This is what made up the ground plane along with the mountains scene in the background. The foreground is composed of assets supplied by the amazing folks over at Quixel.
If you haven’t used any of Quixel’s assets before, they are some of the best organic materials out there right now. They use photogrammetry to create scans of real life objects. Today, these assets are used throughout the industry in movies such as, The Lion King, Black Panther, and Pacific Rim, as well as games like Battlefield and Destiny 2.
Sound Design
We knew the sound for Polaris had to convey a heavy and dramatic story-line that not only takes place on earth, but in the unknowns of space. Many scenes demanded sounds for complete chaos and sporadic movement, while others needed an eeriness and organic touch
Sound FX

We wanted to build our soundscape like a symphony in sync with the score. We needed sound effects that were organic, and musical.
An innovative sound pack called Magic Dust by Push Button Bang was one of the few that inspired a lot of the scenes for Polaris. It offers an array of dark textures and organic hits that sound as if they were all crunched through analog compressors. Other aspects included haunting songs and instruments. In scenes like the intro, we used piano strings being hit and stressed.
Layering
Some of our favorite moments included layering multiple tracks to make a three second scene, pop. This process is no secret, but often overlooked. This is a game-changer in creating a sonic world within a film. Grab your headphones and listen to the addition of layers for this 3 scene sequence below.
When approaching a sequence like this, we always have to ask ourselves, what are all the components here? What’s the perspective? What should you be hearing? The goal with layering, is to combine multiple sounds we would associate with what we are seeing; this helps create an overall experience. There’s no right answer to what you should hear, but being able to plug and play with sound layers helps create dimensions and detail throughout the mix.
Panning FX

If planets orbit in space, why can’t our sound effects do the same? For select scenes we used a circular auto-panner called Brauer Motion by Waves; that created an orbiting pan effect in our mix.
Say goodbye to tirelessly automating the pans in your mix. Set your orbit paths and let Brauer Motion do the rest. Sounds can orbit from left to right, far to near, and be tonally boosted or delayed. Needless to say, this plugin is way too much fun to mess with.
This put moments like our falling astronaut and the spinning red abyss sequences over the edge in the stereo-field.
Voice Over
We were lucky enough to work with an established voice-over artist on this production who we found on no other place but, Instagram.
It was a late night, we had just finished our second or third pass on the trailer. We began to start wracking our brains around a title, a voice, who would be the voice, how much is it going to cost? Lots of things were running through our minds.
We eventually were able to develop a script and started browsing Instagram hashtags #voiceactor #voiceover #hollywood etc etc. We stumbled upon a few legitimate artists and sent out about three messages. Two of three responded, with Ryan Colt Levy being the first to respond at about 1am. We were stoked because our creative hours usually run in the late evening and Ryan was down to work with us right then and there.
Unfortunately, we couldn’t get Ryan into our studio, but he linked with friend Gene Micofsky to record the session. We Facetimed the two in the late morning, and went through a few passes and alternate reads. We were able to compile a few takes into our final voice-over.
Working with such talent was a really great experience and we were so happy to work with someone who was so willing to work with us - the dude’s on Netflix and was beyond excited to work on this project! Without Ryan, we really don’t think this video would have as much impact emotionally.
Color Grading
Here, we’ll breakdown the color behind Polaris, our roadblocks, and the gems we found along the way working with Filmsupply provided live action and CGI, to our own in-house CGI.
Working with Pro-Res footage wasn’t all bad as it’s cracked out to be. We used Red Giant MagicBullet Looks for our base grades and color FX. We also utilized Premiere Pro’s built in Lumetri Color software for the final touches. Although Resolve is common for grading these days, we’re still loyal to our friends at Adobe.

Space & Earth
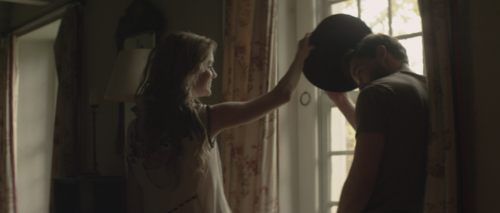
We had to be cognizant of the pacing and color between the scenes you see on earth and the scenes you see in space. Polaris starts out with a little mystery and background on our main character, the astronaut. We chose to keep the colors warm and natural up front on earth.


Transitioning to the space scenes, we chose a cooler feel here with creamy warm highlights to replicate the sun at a distance.


This helps to differentiate the scenes on earth & space and where we are with our story-line. As the trailer progresses, we introduce more characters, like his wife - alone and depressed, to a friend or foe who seems to be going mad, to the actual space-ship itself. We chose to build a color palette for every scene and character that would create a distinction among them.


Grading in Adobe Premiere

Adobe Premiere has made strides in the color world when coupled with third-party plug-ins. Its latest 2019 Lumetri Color software introduced a beefed up curves section which allows for excellent control over your HSL (hue/saturation/luminance).
We used MagicBullet Looks to create our base grades and apply camera\lens FX such as Diffusion, Chromatic Aberration and Anamoprhic Flare. We were able to make minor changes with adjustment layers and Premieres’ built in curves controls and secondary color.
Another powerful tool when coloring in Premiere Pro is the Comparison View. It can allow you to compare scenes side by side in order to truly match color without second guessing. We use this tool often for cross-checking our scenes.
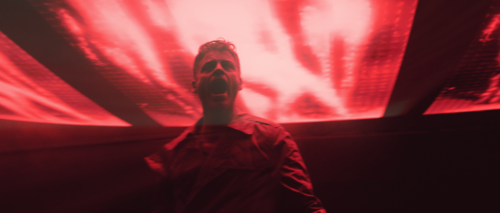
Dominant Reds
If you hadn’t noticed, we really liked the color red in this trailer. We kept coming back to red scenes to display a certain drama in the scene. We wanted to ensure every time we see red, it would be consistent. We based our red off the first scene in the gallery below. We used the Comparison View tool built in Premiere to constantly match color not only for these red scenes, but with every scene we felt were “coupled.” All of these reds differed in color on our flat pass, using Comparison View allowed us to match them all perfectly.